Page Tree
Previous Releases
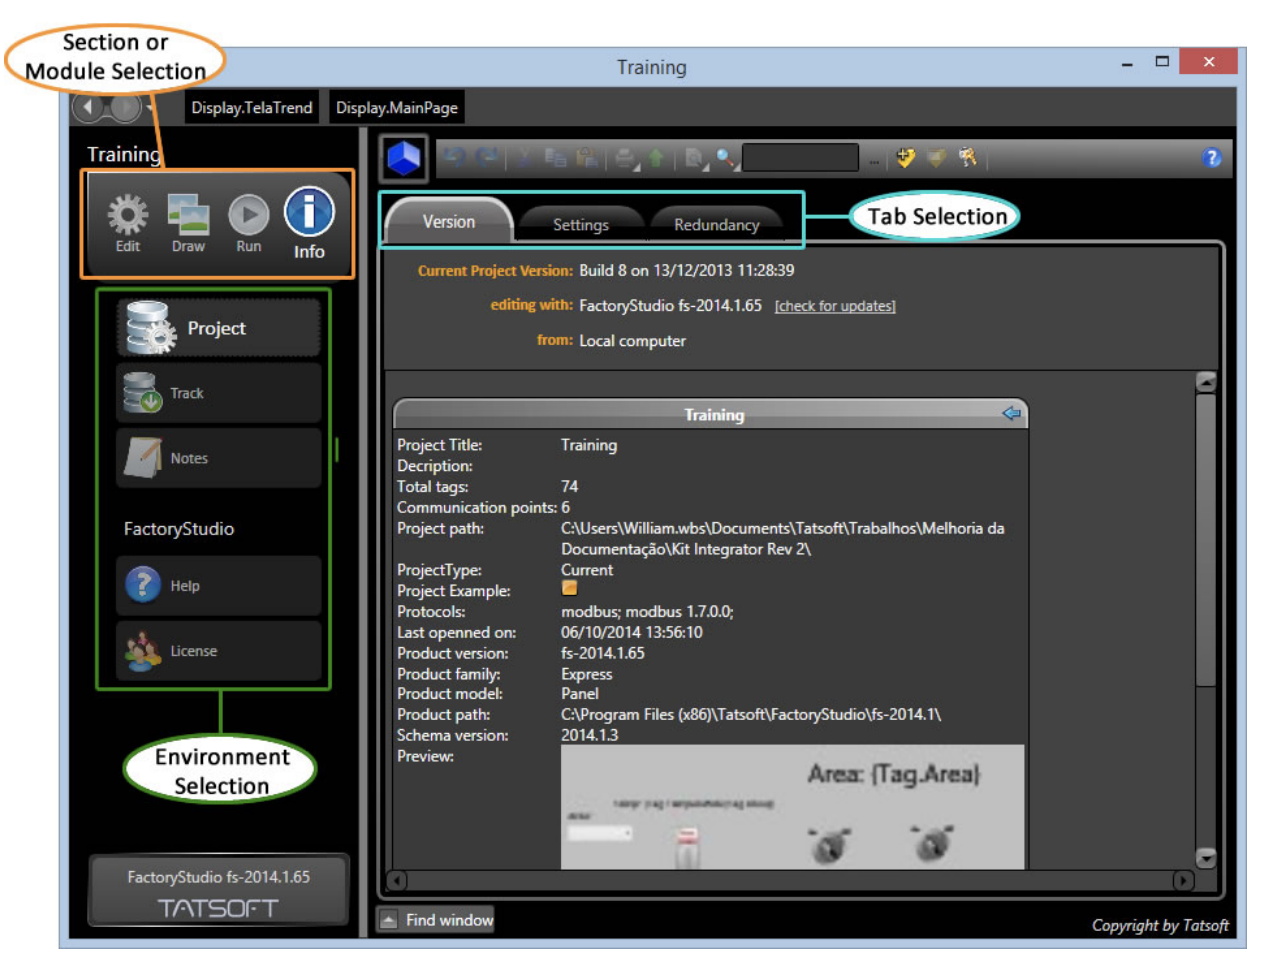
This is the main user interface for project configuration. After selecting a project in the Welcome interface, the manager application allows customization of the project. All features can be reached through a very simple 3 layer navigation.
The Project Configuration Environments are:
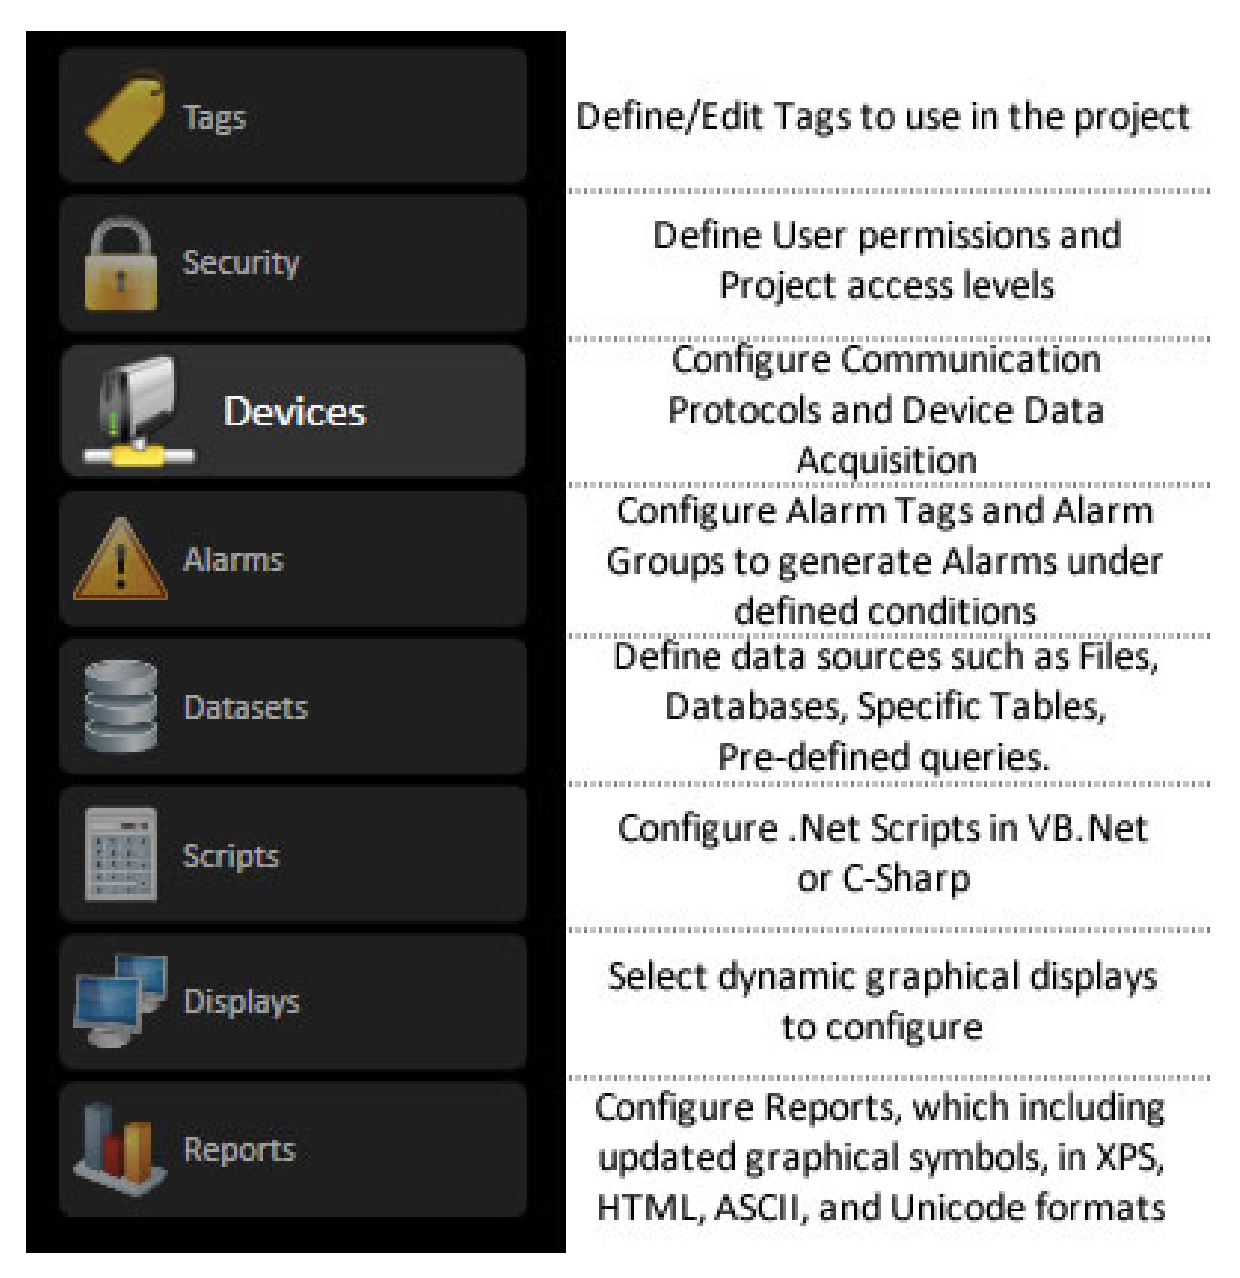
EDIT: Configuration for the real-time database (Tags), Historian, Security, Alarms, Devices (remote equipment and multiple protocols), Datasets (databases and files access), Scripts (.NET languages C# and VB.NET) and Displays (User Interfaces) and Reports.
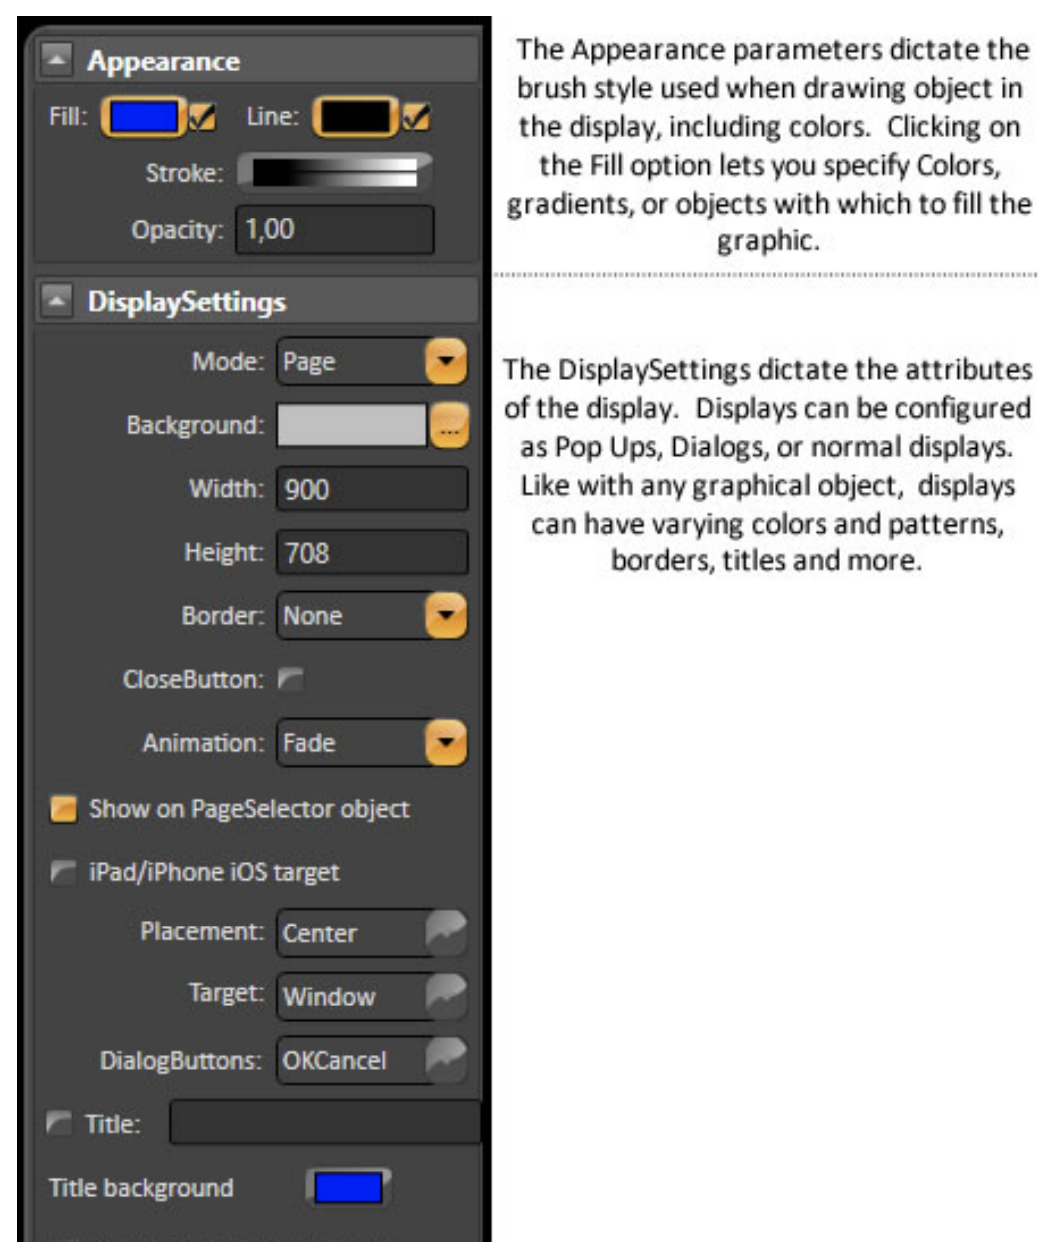
DRAW: Built-in state-of-the-art drawing tools using WPF (Windows Presentation Foundation) and XAML technology. It allows an easy and powerful definition for dynamic behavior, advanced objects, and code behind logic.
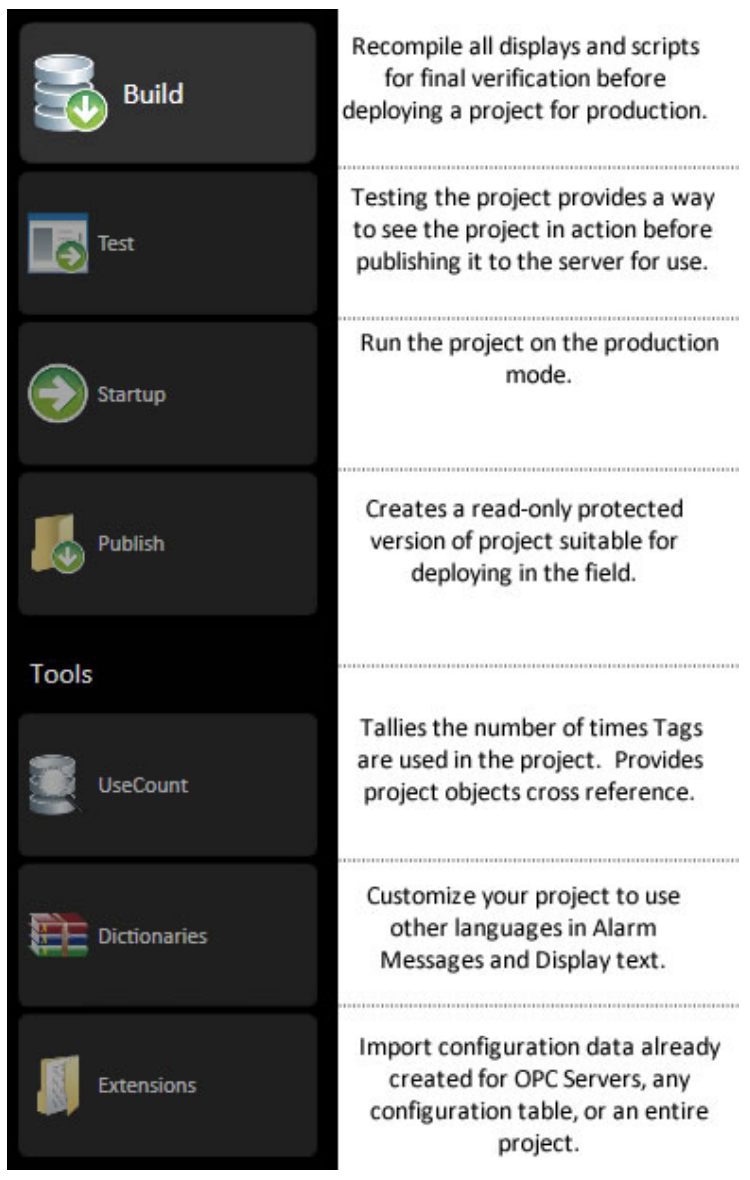
RUN: Allows you to run project verification (BUILD command), TEST the project using temporary files and a safe communication mode, or to STARTUP the project. It also has additional features like Publish the project, Localization, Cross-Reference, and Unused objects.
INFO: Shows information about the project (the Project build number and published status), the product version and model, and licensing information. This interface also allows tracking of project modifications and sharing notes across the development team.
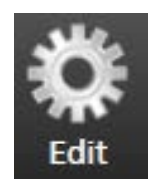
To configure the basic elements of your project, click on the “Edit” icon in the main menu.
The philosophy of the configuration user interface is to act like a web-page front-end. This means you easily navigate and fill in the forms, while the data is automatically being saved and commissioned to the backend without the need to open/save/close operations all the time. You can always undo table modifications when necessary or discard the modifications on the displays if you don’t want to include them in the project. These new concepts for navigation and a web-like style make FactoryStudio much easier to use than other old-style desktop tools.
There are many features to help manage and edit the contents of the configuration tables.
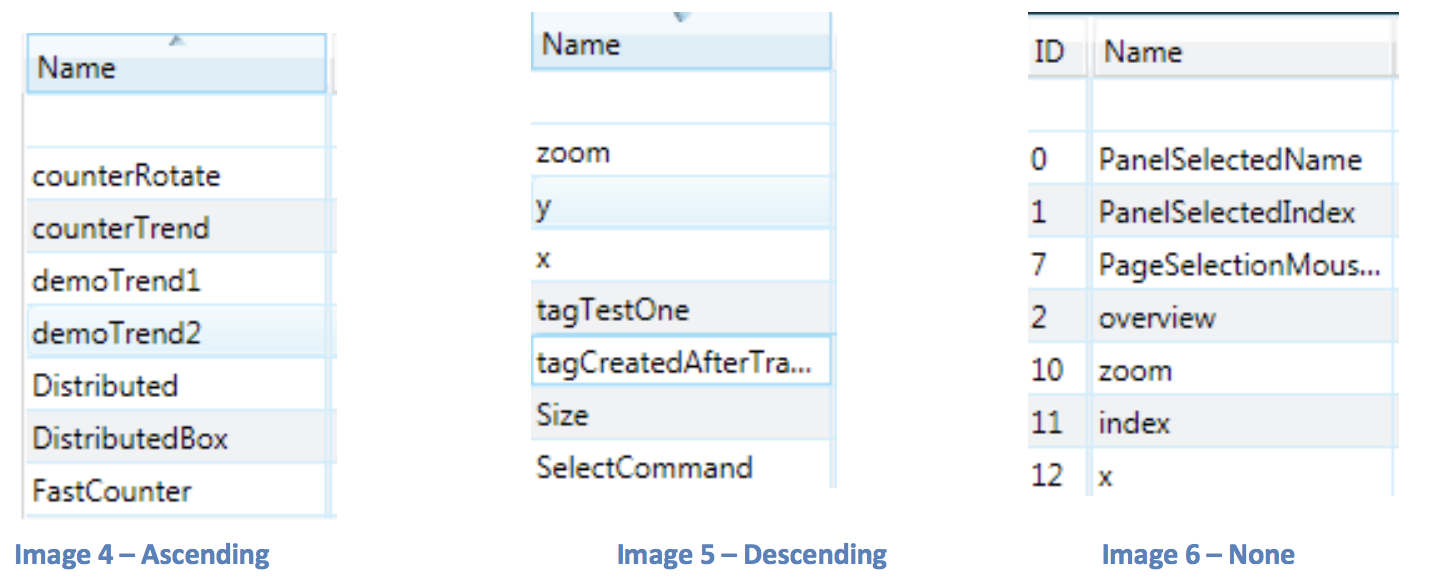
Sort: Click on a column name to sort by that column and to change the order to ascending, descending, or none. When none is selected, the internal row ID is used.
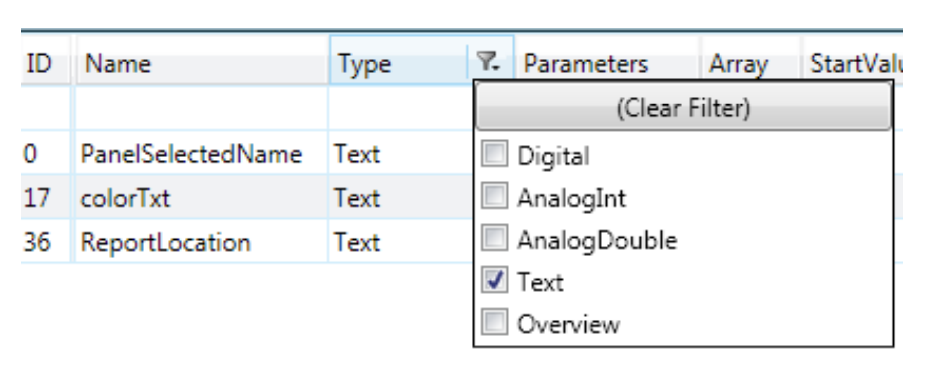
Filter: Click on the filter icon to select visible rows according to their contents.
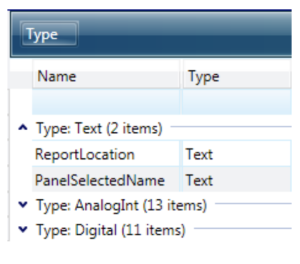
Grouping: Drag and drop the column titles in the upper area to create a dynamic hierarchical grouping of the information.
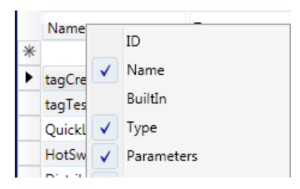
Hide or Show columns: By default, some columns that are not typically used are hidden. Right click on the title in order to select the columns that you want to make visible:
To configure dynamic graphic displays, click on the “Draw” icon in the main menu. The Drawing tools are explained in detail in the Drawing Tools Page.
To configure dynamic graphic displays, click on the “Info” icon in the main menu.
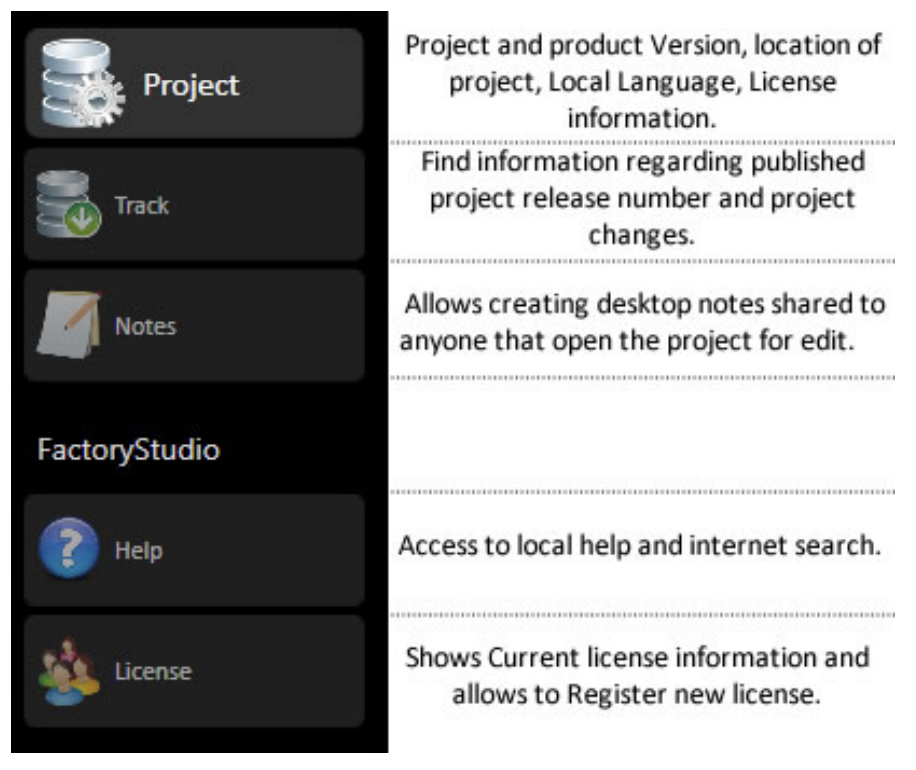
Project: The table shows information about the project version as well as the product version. The link “check for updates” checks the Tatsoft website for product updates, which are always free to install and are project compatible. When an update is found, it may be downloaded and installed. This requires user confirmation. Since the tool is used in mission-critical applications, Tatsoft decided not do any background product updates without this explicit confirmation. In the Settings table, you can modify the general configuration for your project.
The Run environment provides access to all project execution parameters.

Select the TEST option on the left side, and then click the RUN TEST button. This will start the project in the runtime mode, which means the project configuration will be executed.
If you are running the DEMO project, use this opportunity to do a tour of the demo display since it contains valuable information about product features.
Note
Executing a Build is useful for a complete verification of the application logic when preparing an application for final production, but this is not necessary during development. All modifications you make on the project are automatically and transparently being compiled in the background while you are editing.
Test: run the project in test mode, which means it runs with some protections that allow the test mode to run even on the same machine where the project is also running in startup mode. Also, functions like historian and alarm logging automatically go to temporary files instead of the defined database for the project production.
UseCount: Shows how many times each object is used inside the application, along with a CrossReference showing where each object is used and a list of Unused objects. You can double click on a selected reference in order to jump to its location.