Page Tree
Previous Releases
| Easy Heading Macro | ||||||||||
|---|---|---|---|---|---|---|---|---|---|---|
|
| Info | ||||
|---|---|---|---|---|
| ||||
The following document describes the usage of the Copy/Paste tool to easily insert Tags into a Page. |
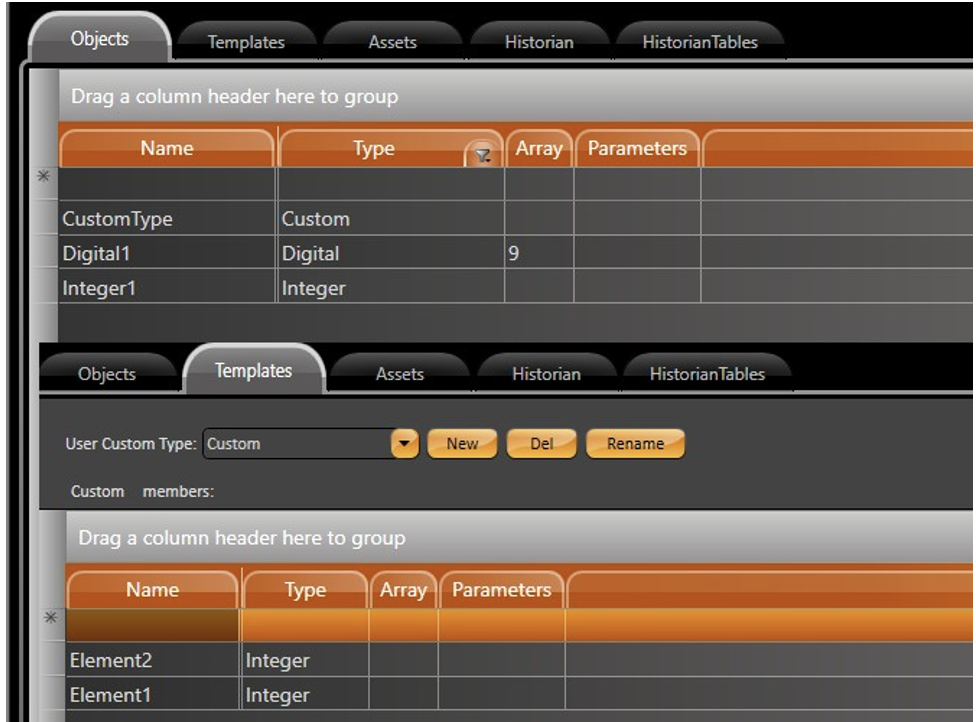
The first step to use this feature is to create a Tag in your Project. This tag can be a simple one, an array or Custom Type.
To better understand the feature, all three examples are shown in this documentbelow. The tags created are as follows:
| Code Block |
|---|
1. Tag.Integer1 -- Integer DataType -- Simple Tag. 2. Tag.Digital1 -- Digital DataType -- Array of 10 elements. 3. Tag.CustomType -- Custom DataType -- Sub-Elements: Element1 (Integer), Element2 (Integer.) |

Tag creation.
Now that our tags were created, we can start adding them to the display. Right-click at Integer1 Tag, and select Copy Selected Row option.
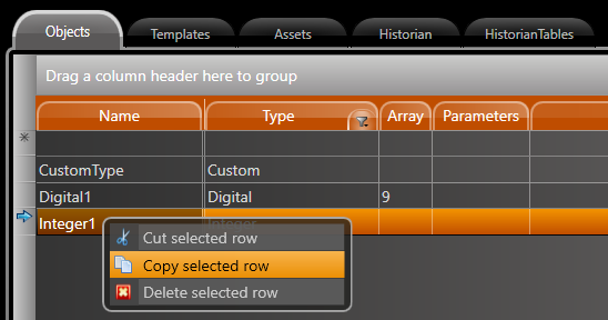 Copy selected tag.
Navigate to the Draw Environment, at the desired Page. Right-click at the display and select Paste. You should see the Tag being inserted into the display, already formatted with a TextOutput, for label, and a TextBox for displaying value.
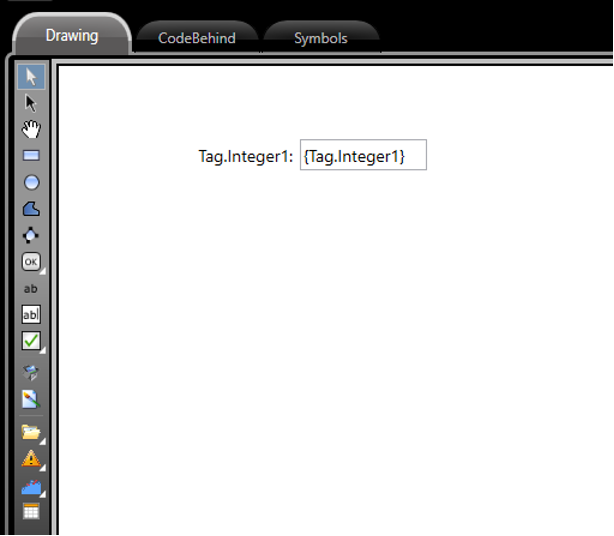 Copy/Paste Simple Tag.
The same logic can be applied for array Tags. Copy the Tag row from Edit-Tags-Objects related to Digital1 Array. All elements should appear formatted when Pasted into a page.
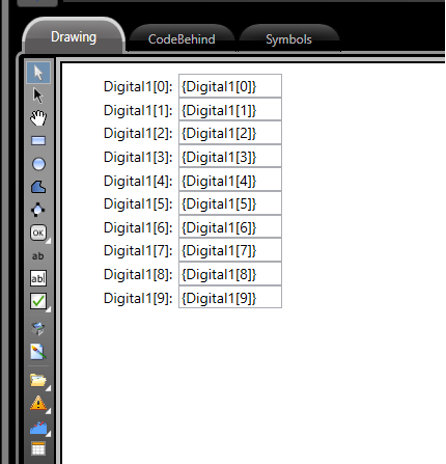
Copy/Paste Array Tag.
Lastly, for a Custom Type Tag, Copy the Parent element from Edit-Tags-Objects and Paste it into your page. The child elements will be automatically formatted at the Display.
...
| Info | ||
|---|---|---|
| ||
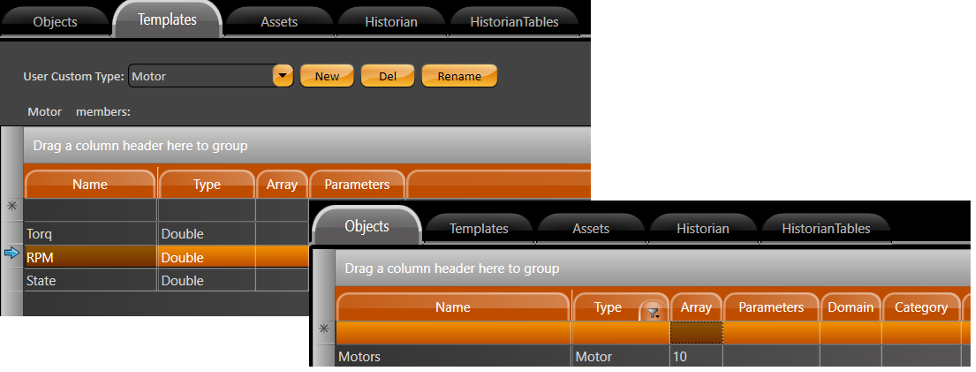
Custom Type “Motor” and tag array Motors of Motor for motor type. |
Symbol Below is the “Motor” symbol using the motor custom type.:
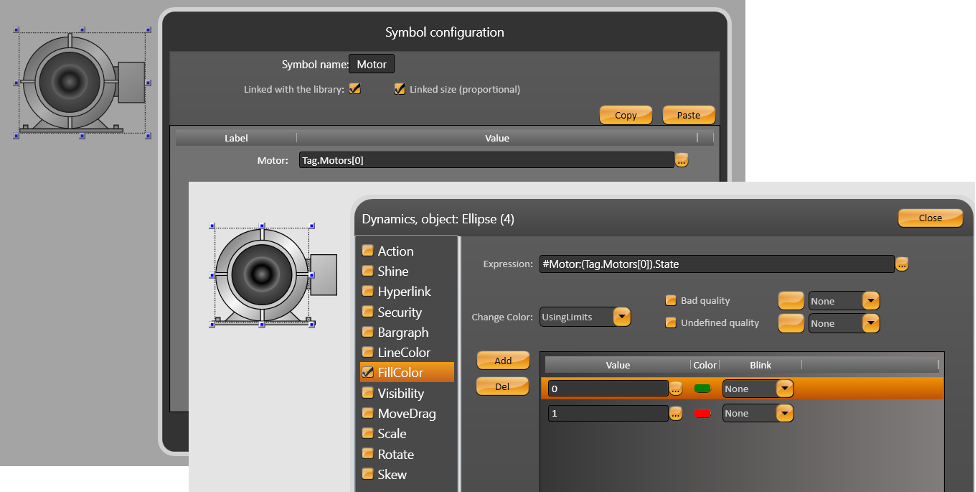
Executing copy of Motors tag to a page will past all motors symbols created and configured with the right tag:
...