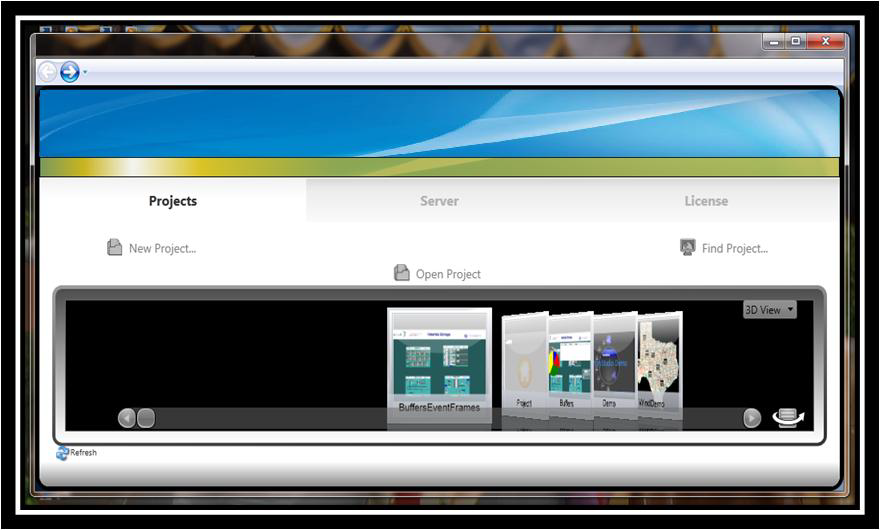
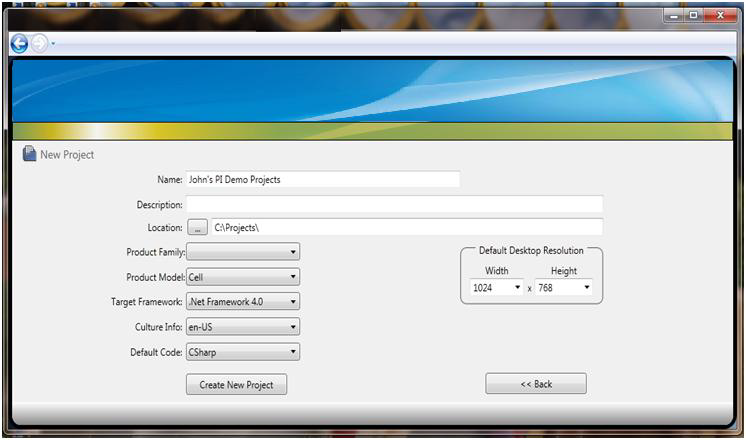
Select Enterprise in the Product Family, and click on the Create New Project button. (Make sure you have the license to use the interface with PI.)
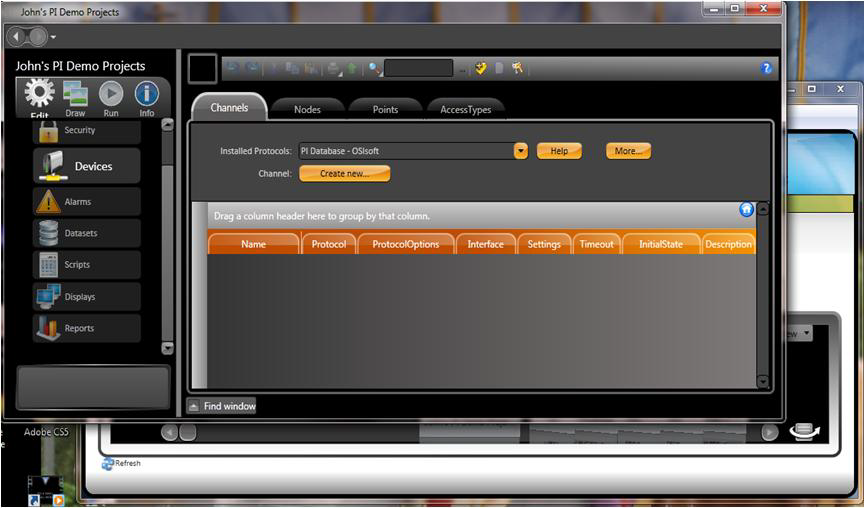
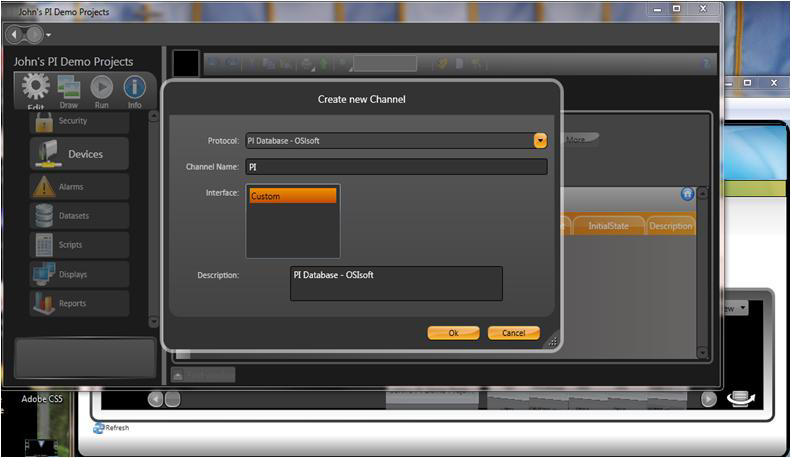
Go to Edit > Devices, and create a new PI Database Channel. If PI does not show on the list, the computer likely does not have the license for that interface. Contact us in this case.
You can use the default settings for the Channel Name and Description.
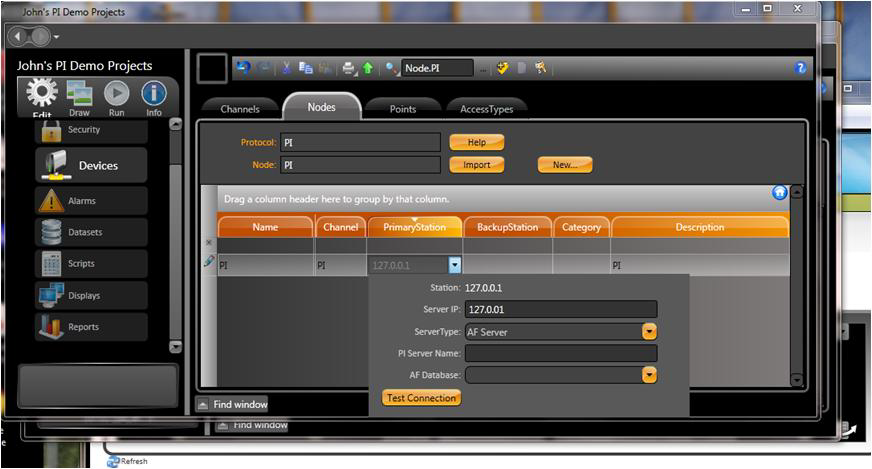
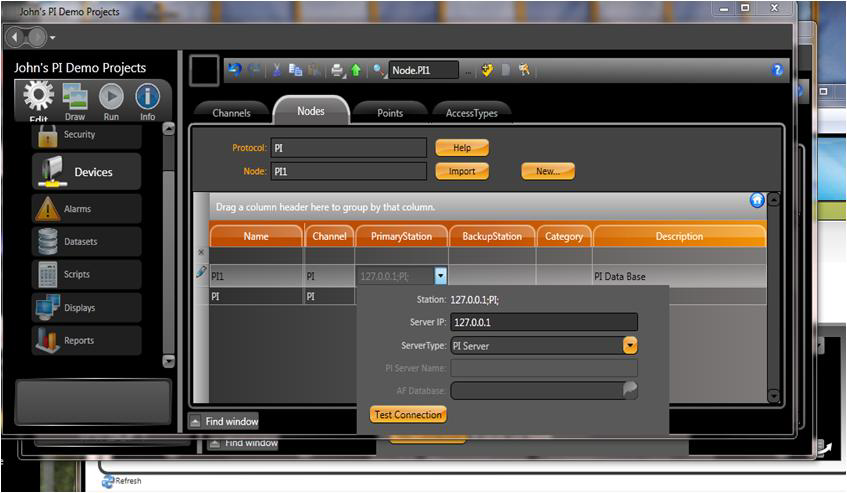
On Edit > Devices > Nodes, create a new Node on the PI channel. Click on the PrimaryStation cell to edit the Node address.
You can connect to a PI server or to the AF server by selecting them in the ServerType combo box.
When connecting to the AF server and after testing the connection, you need to select the AF Database. You need to replace the “Default” option, in the combo box, with the AF Database you want to connect to.
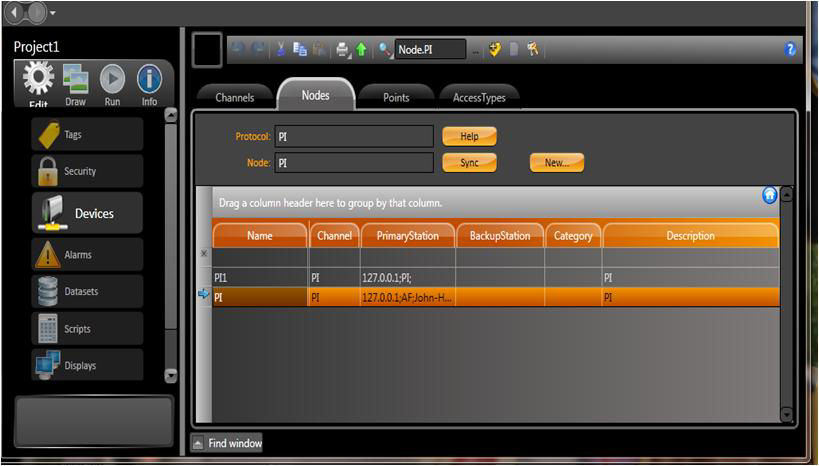
After creating your nodes, select a row and press the Import/Sync button.
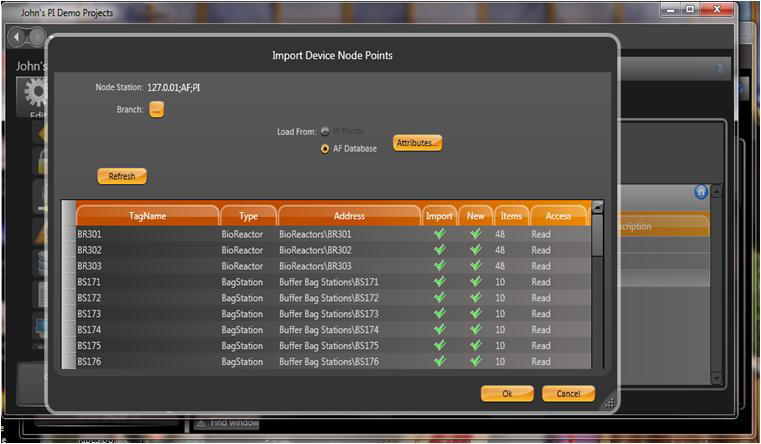
The first time this is done, the system will import all of the selected objects from the PI or AF server. The next time you press the button, only new objects will be present for synchronization.
The tags, templates, and connections are automatically created or updated to the PI or AF server.
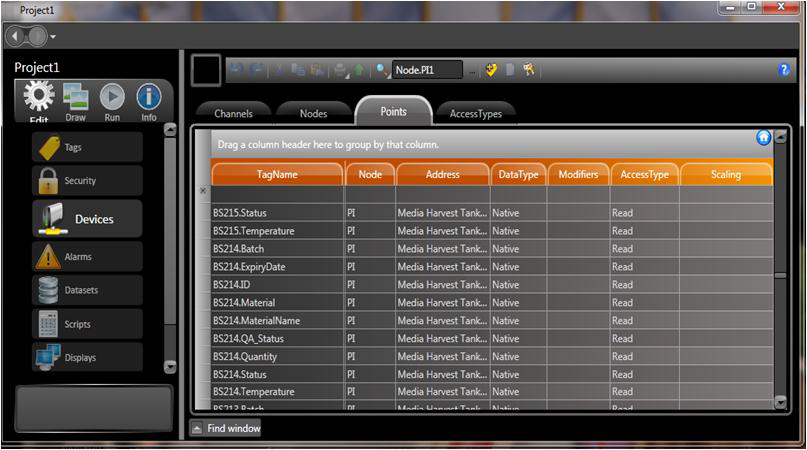
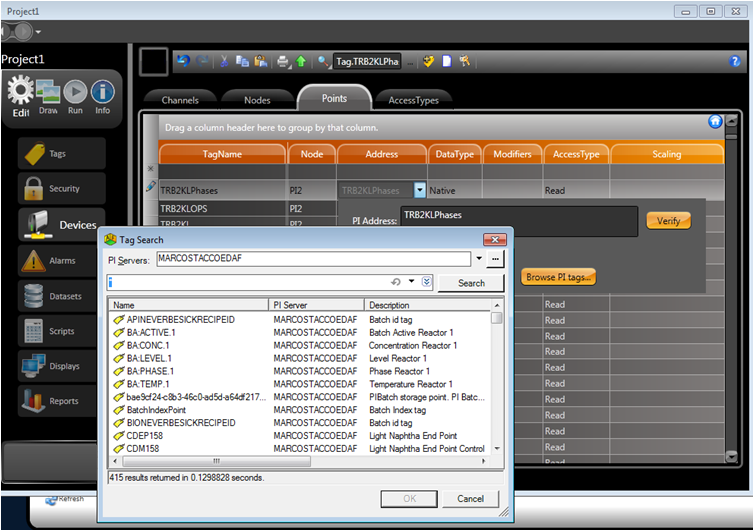
You can also include or change addresses in Edit > Devices > Points by calling the PI points/AF search dialogs directly.
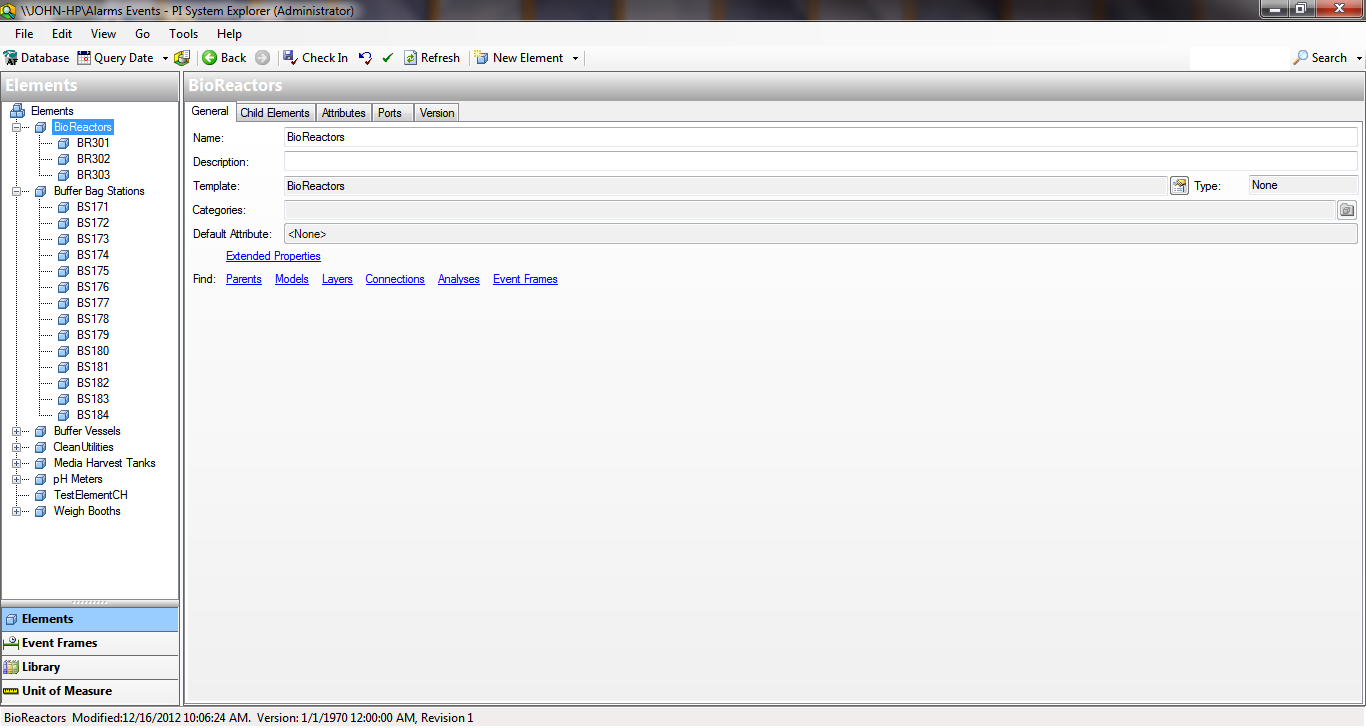
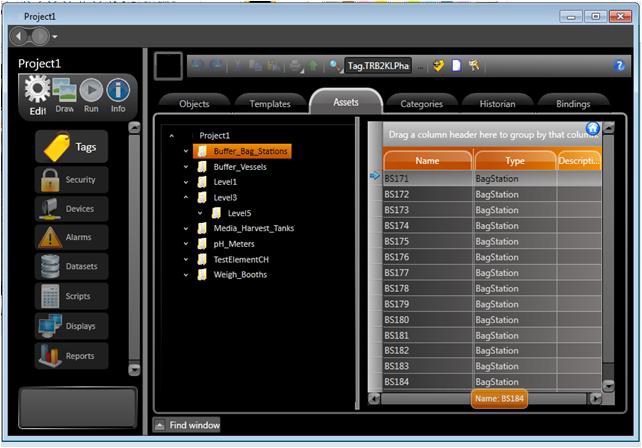
When connecting to the AF server, the elements tree, categories, and attributes are also fully synchronized with the AssetsView.
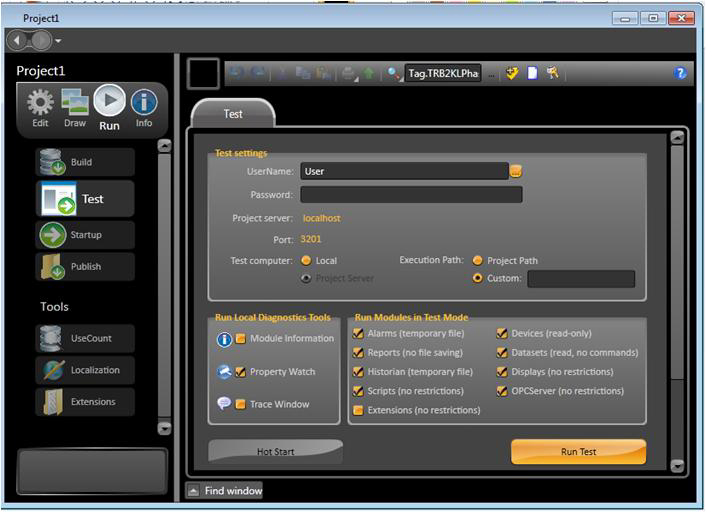
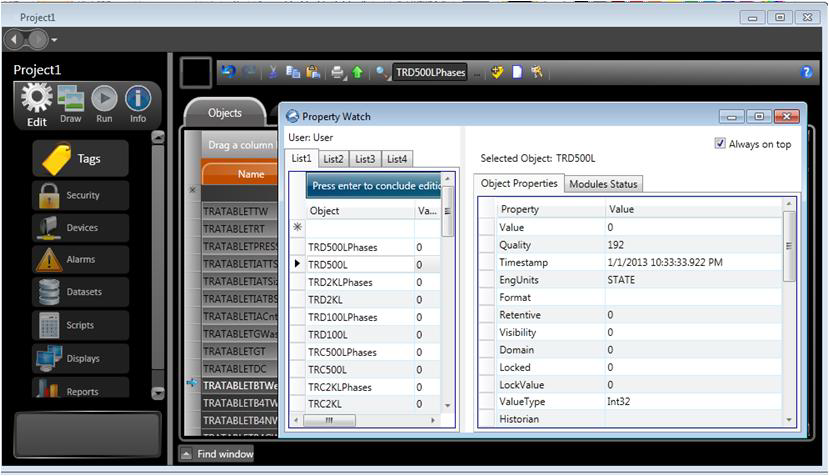
Go to Run > Test or Run> Startup, and press the Run button to execute. Enable the Property Watch for a quick view of tag values.
For a quick verification of tag values, you can type tag names (using InteliSense auto-fill), or copy/paste the row from the Edit > Tags > Objects table.